WooCommerce
Integrate Hesabe Payment Gateway seamlessly with your WooCommerce store. Support for direct and indirect payment methods with comprehensive Apple Pay integration capabilities
Important : Note for Apple Pay Integration
- Please refer apple pay integration steps Direct Apple Pay.
- Before using this version, ensure that domain verification is completed as per the Direct Apple Pay Guide
Plugin Downloads
| Version | Description | Download Link |
|---|---|---|
| Standard Plugin (Latest) | Standard WooCommerce integration with latest payment methods | Download Plugin |
WooCommerce Plugin Installation Steps
Prerequisites Check
Ensure you have the latest version of WooCommerce plugin installed.
Compatibility
Hesabe payment plugin verified until WordPress version 6.9.4 and WooCommerce version 10.7
Upload Plugin
Choose one of the following methods to upload the Hesabe WooCommerce plugin:
Method A: FTP Upload
Unzip and upload the Hesabe WooCommerce plugin to your /wp-content/plugins/ directory
Method B: WordPress Admin Upload
Navigate to Plugins → Add New Plugin → Upload plugin, then select and upload the Hesabe plugin
Activate Plugin
Activate the plugin through Plugins → Installed Plugins in the WordPress admin panel.
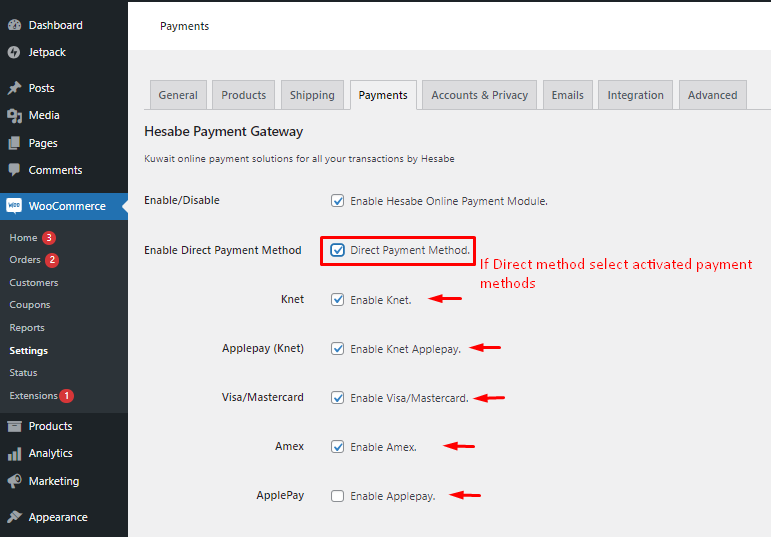
Enable Payment Method
Navigate to WooCommerce → Settings → Payment and enable Hesabe Online Payment.
Configure Payment Options
Choose your preferred payment integration method:
| Method | Description |
|---|---|
| Direct Payment Method | Select "Direct Payment Method" to redirect customers to the Payment Gateway Page. Choose applicable payment types (Knet, Visa/Master, Apple Pay, etc) |
| Indirect Payment Method | If "Direct Payment Method" is not selected, users will be redirected to Hesabe Pay where they can select payment type and proceed |
Ensure selected payment methods are activated in your Hesabe account
Select "Direct Payment Method" to redirect customers to the Payment Gateway Page
Configure Environment Settings
Set up your testing and production environment:
Demo Mode
Enable Demo mode if testing with test credentials. Disable for production use.
For production credentials, refer to your merchant panel profile section
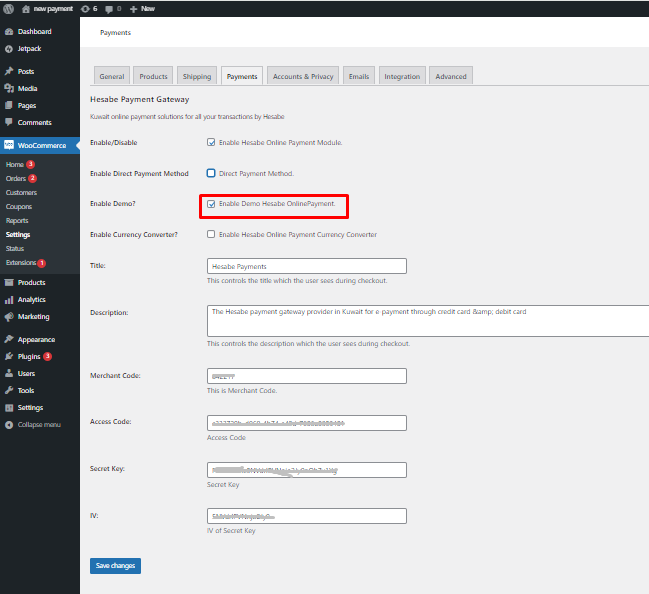
Optional: Currency Converter
Enable currency converter if needed. Note that transaction currency will be KWD only.
Demo Mode
Enable Demo mode if testing with test credentials. Disable for production use.
For production credentials, refer to your merchant panel profile section
Save Configuration
Save all changes to complete the configuration process
Frontend Display Examples
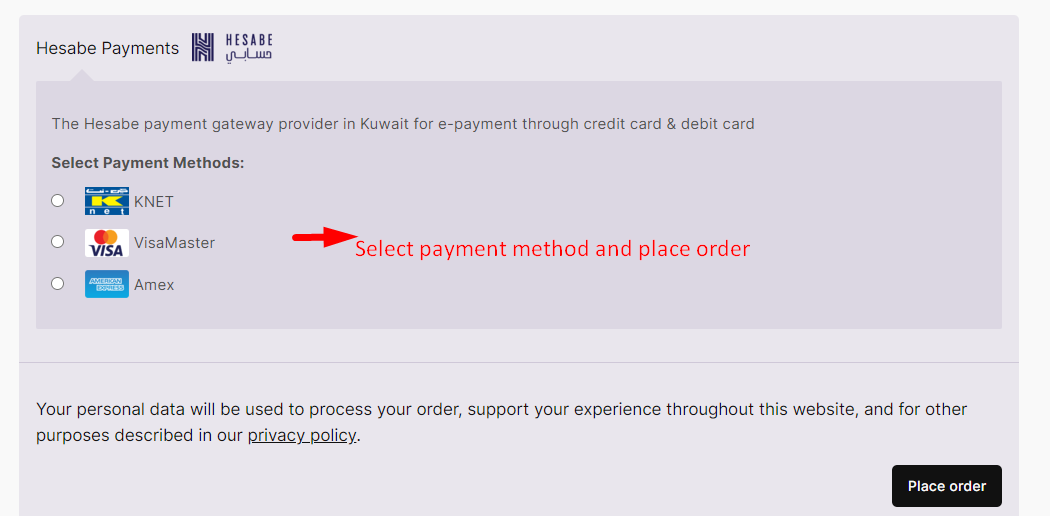
1. Direct Payment Method Display
When Direct Payment Method is enabled, customers see payment options directly on the checkout page:
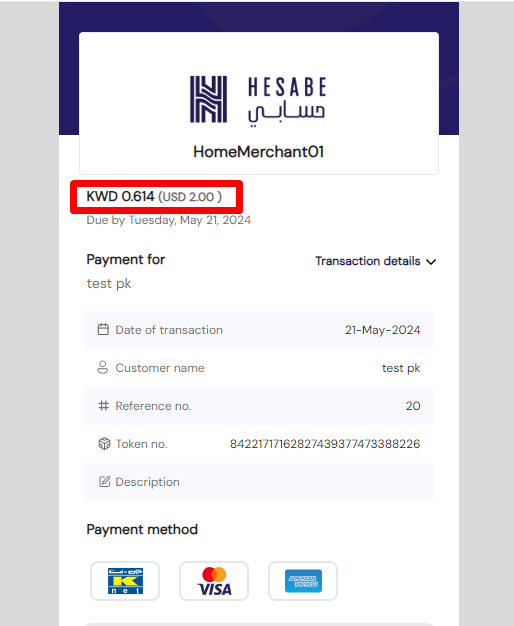
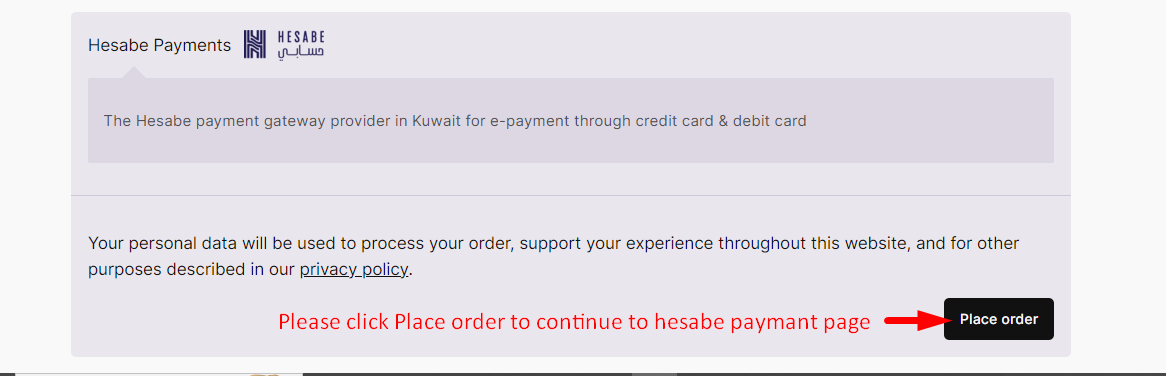
2. Indirect Payment Method Display
When Indirect Payment Method is selected, customers are redirected to Hesabe Pay:
Shopify
Get started with the Shopify integration with Hesabe Payment Gateway on your store using the comprehensive steps below. Transform your e-commerce experience with secure and reliable payment processing.
Zoho Books
The Hesabe Payment Gateway Connector enables Zoho Books, along with other Zoho Finance applications that support payment gateway integrations, to securely redirect customers to Hesabe’s hosted checkout for payment processing. Upon completion, customers are returned to Zoho with a signed transaction response, allowing the system to automatically update the invoice status as paid or record any payment failure accordingly.